Educator Help Center
How do I use the Classes option?
Classes are a convenient way to group students for easy data reporting purposes. This also enables instructors to quickly run reports on their specific students, as well as allows multiple teachers to see student data (when students are added to multiple classes). As a teacher or administrator, you are able to add new classes, edit existing ones, and deactivate old classes.
To add classes:
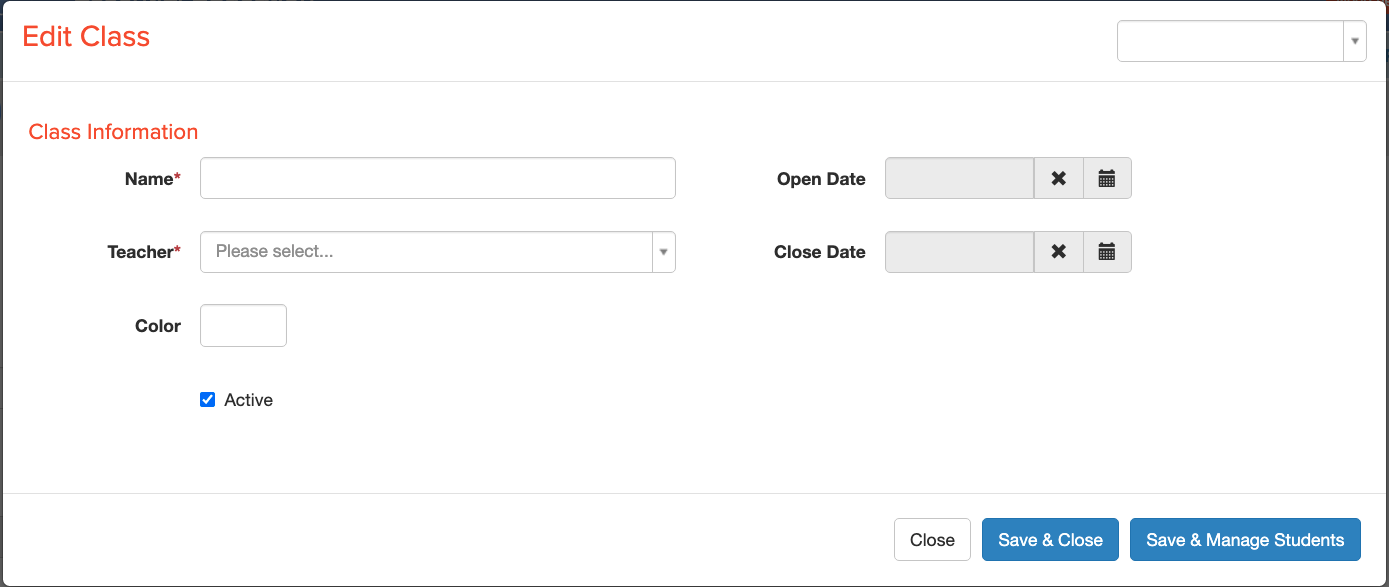
- From the Administration tab, click on Classes, then click the Add Class button.

2. Give a unique name to your class by clicking in the Name field.
3. Continue to assign students into your new class by clicking the Save & Manage Students button.
4. Click the Save & Close button when you are done.
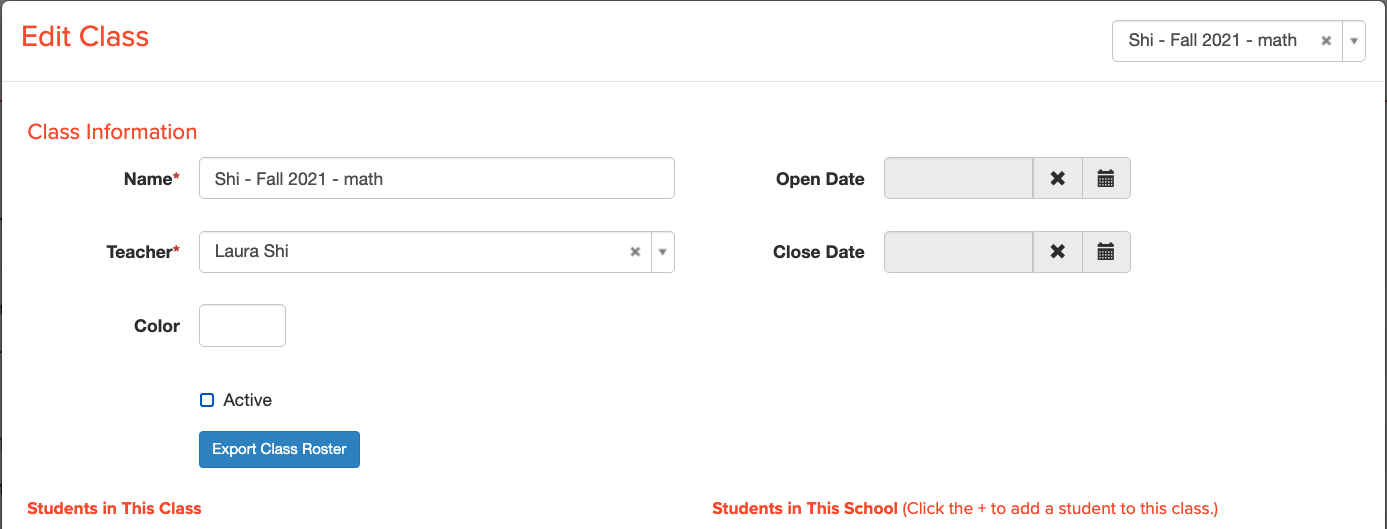
To edit an existing class, locate the class from your Class List.
-
From the Administration tab, click on the Classes button.
-
Use the Filter By or Search By fields to quickly find a specific class; make sure to press the Submit button to refresh your Class List results.
-
Locate the class you wish to edit and click the Edit link.

Here are your options for editing an existing class:
-
Rename the class
-
Make the class inactive
-
Update the class roster
We do not offer an option to delete classes. Alternatively, you can make any class inactive by unchecking the Active box and clicking the Save & Close button.