Educator Help Center
How do I use the Students option?
The Students option allows administrators and teachers to add or edit student profiles, as well as grant or remove access to various components of the system, or make them inactive altogether.
To add student accounts:
-
From the Administration tab, click on the Students button, then on the Add Student button.

2. Enter the student's first and last name, email address and/or username, and password.
3 To continue quickly entering more students, click the Save & Add New button.
4. Click the Save & Close button when you are finished.
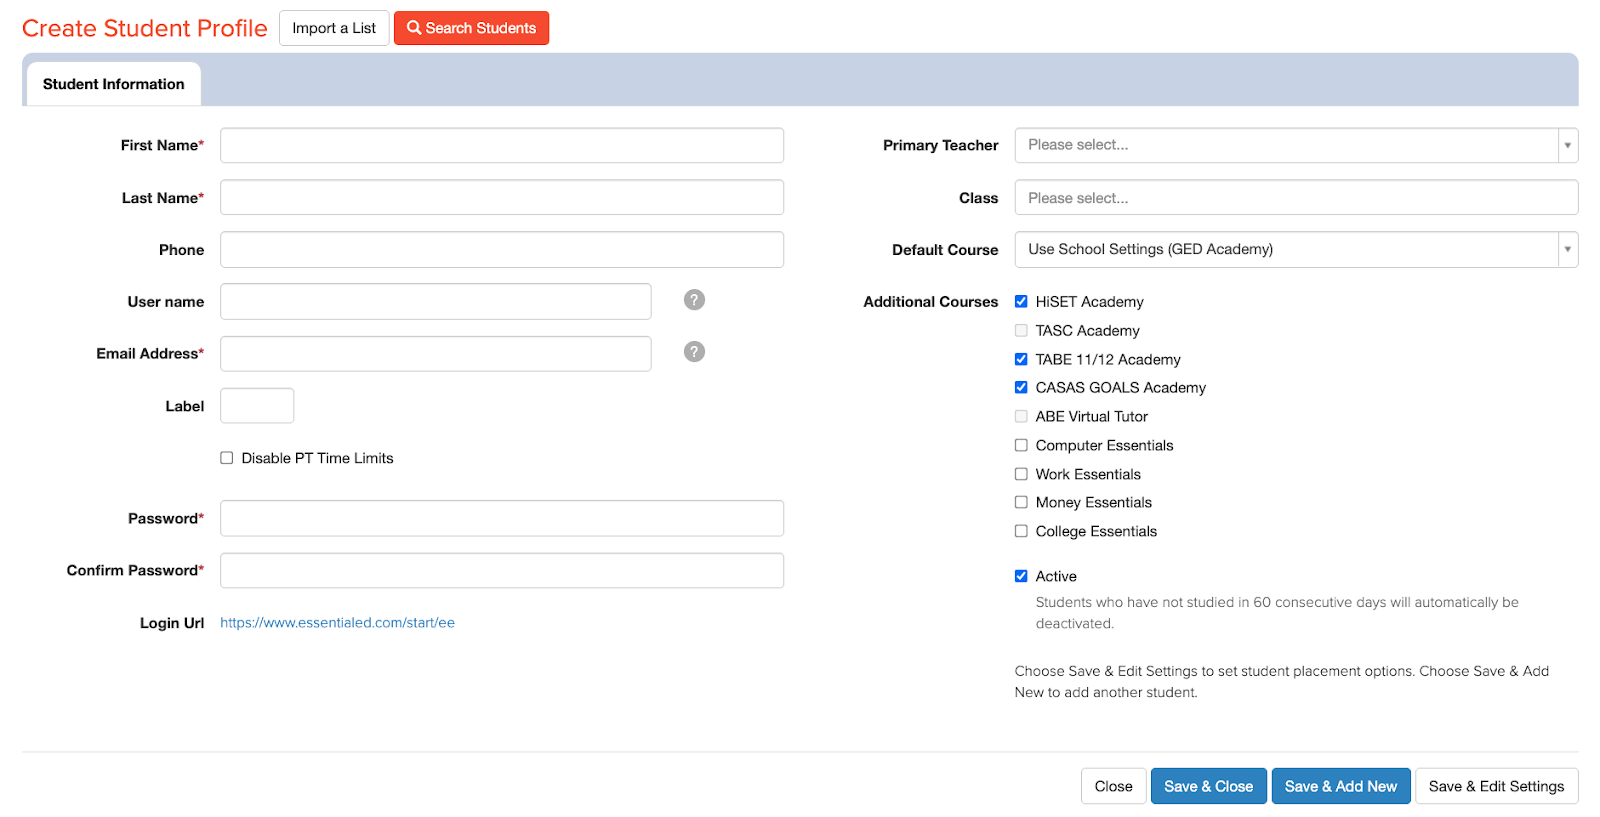
You also have the option to enter additional information to help better manage student accounts.
To edit student accounts:
-
From the Administration tab, click on the Students button.
-
Using the Search By filter, type in the student's last name and first name.
-
Click the Submit button to search.
-
Locate the student you wish to edit and click the Edit link next to their name to open the Student Profile page.

5. Click on the Label field to choose from 24 color labels* to tag students. Labels can indicate anything: an assigned district, school, location, or anything you may need to help better organize your students.
6. Click on any Default Course from the dropdown list for students to only see one product at a time.
7. Click on any of the available Additional Courses that you want to give your students access to. If your school or organization has purchased more than one product, you can decide which ones your students can have access to using the check box to check one or multiple courses.
8. Click the Save & Close button.
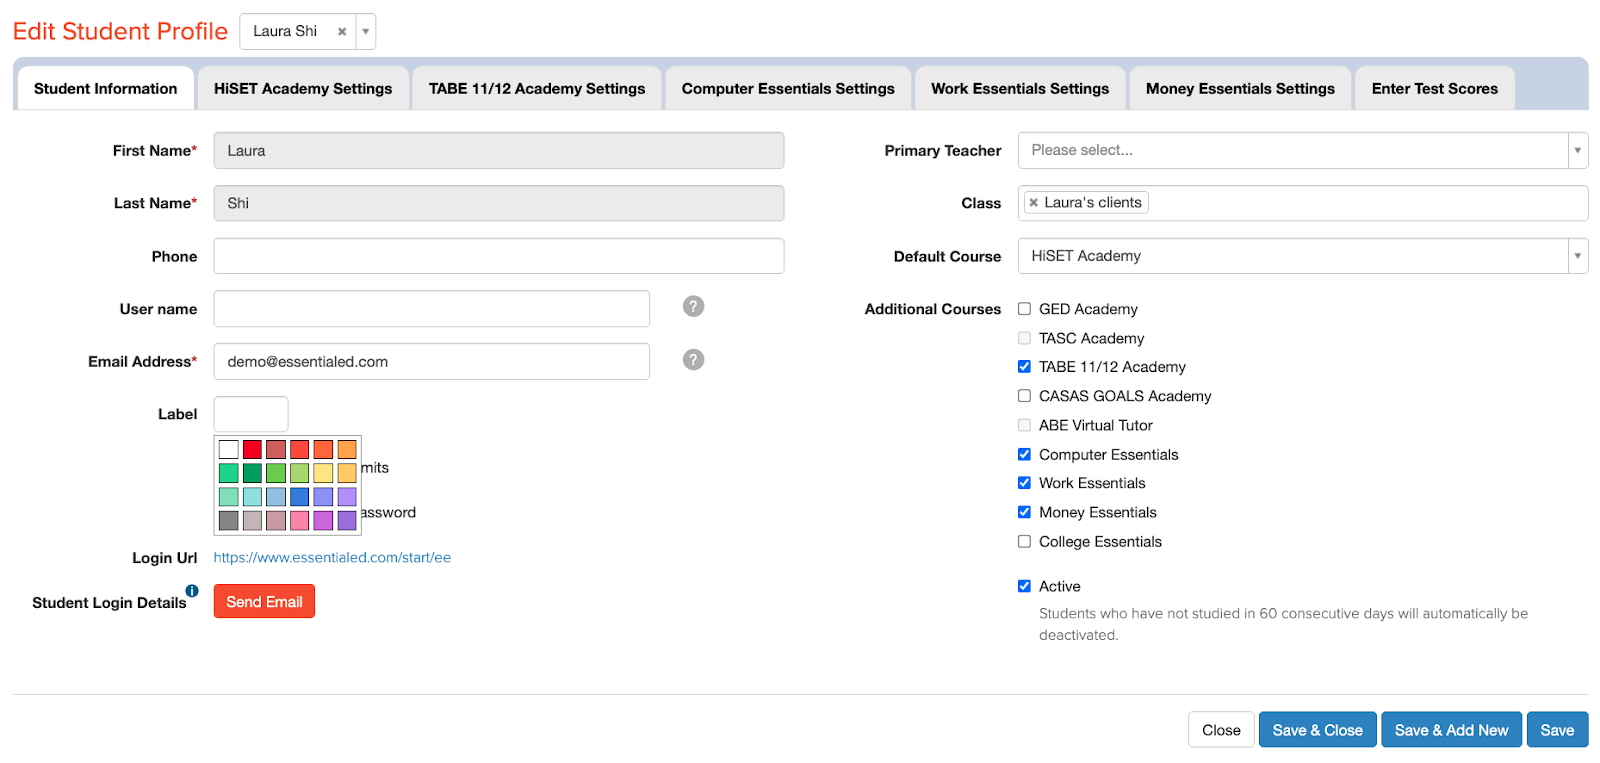
*Labels are decided at the administrative level and should be communicated to all student users to avoid two student accounts using the same label for different purposes or mislabeling students.
To deactivate student accounts:
-
From the Administration tab, click on the Students button.
-
Using the Search By filter, type in the student's last name and first name.
-
Click the Submit button to search.
-
Locate the student you wish to deactivate* and click the Edit link next to their name to open the Student Profile page.
5. Uncheck the Active box to deactivate their account.
6. Click the Save & Close button.
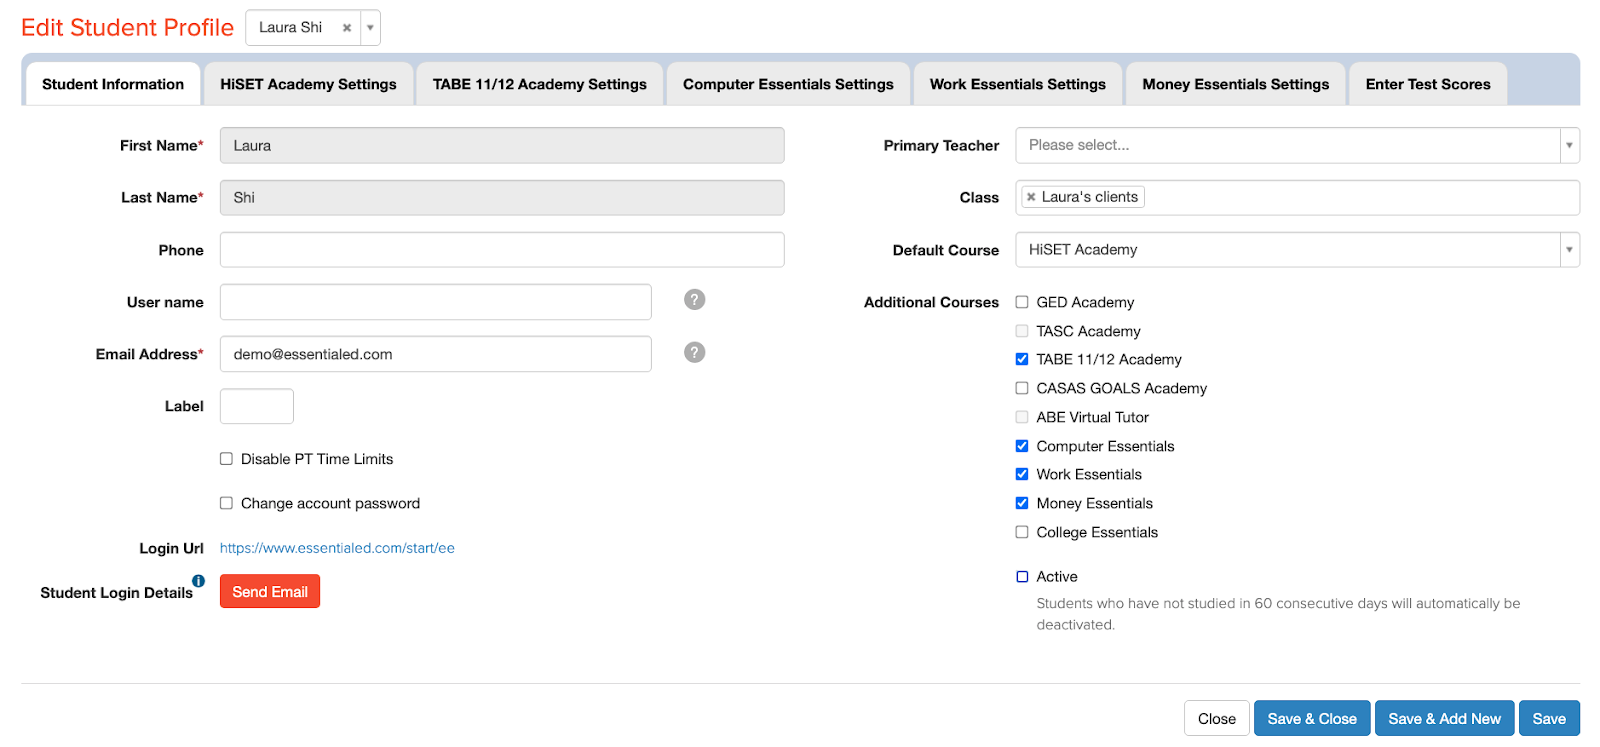
*Deactivating a student will not delete their account. The account will remain saved in the LMS and can be accessed once you make the student account "Active" again.
Learn more on how to reactivate a student account, delete a student account, or add multiple students at once.